
- 7/22/2024
- 4 min read
I Taught Myself Hardware Product Engineering
Hardware is always fascinating me. I like its nature of tangibility and the ability to interact with it physically. As a musician, I love the feeling of turning knobs, pressing buttons, playing faders, and plugging cables. It’s more satisfying than using synthesizer plugins on a computer, and turning virtual knobs with a mouse. Of course, software synthesizers are more flexible and cheaper when it comes to music production. However, when you are performing live, hardware synthesizers are more reliable and fun to use.
I’ve been building my modular synthesizer system for a while now. I mentioned in my previous post that I wanted to design and build my modules. Now, here I am, manufacturing my designed module and a case by myself.
In this journey, I learned a lot about hardware product engineering.
Designing electronic circuits and PCBs
To build a module for a modular synthesizer system, I need to design the electronic circuit, create a printed circuit board (PCB), and assemble the components. For the PCB design, I use KiCad. It’s an open-source software for designing electronic circuits and PCBs. I learned how to create a schematic, layout the PCB, and generate the Gerber files for manufacturing.
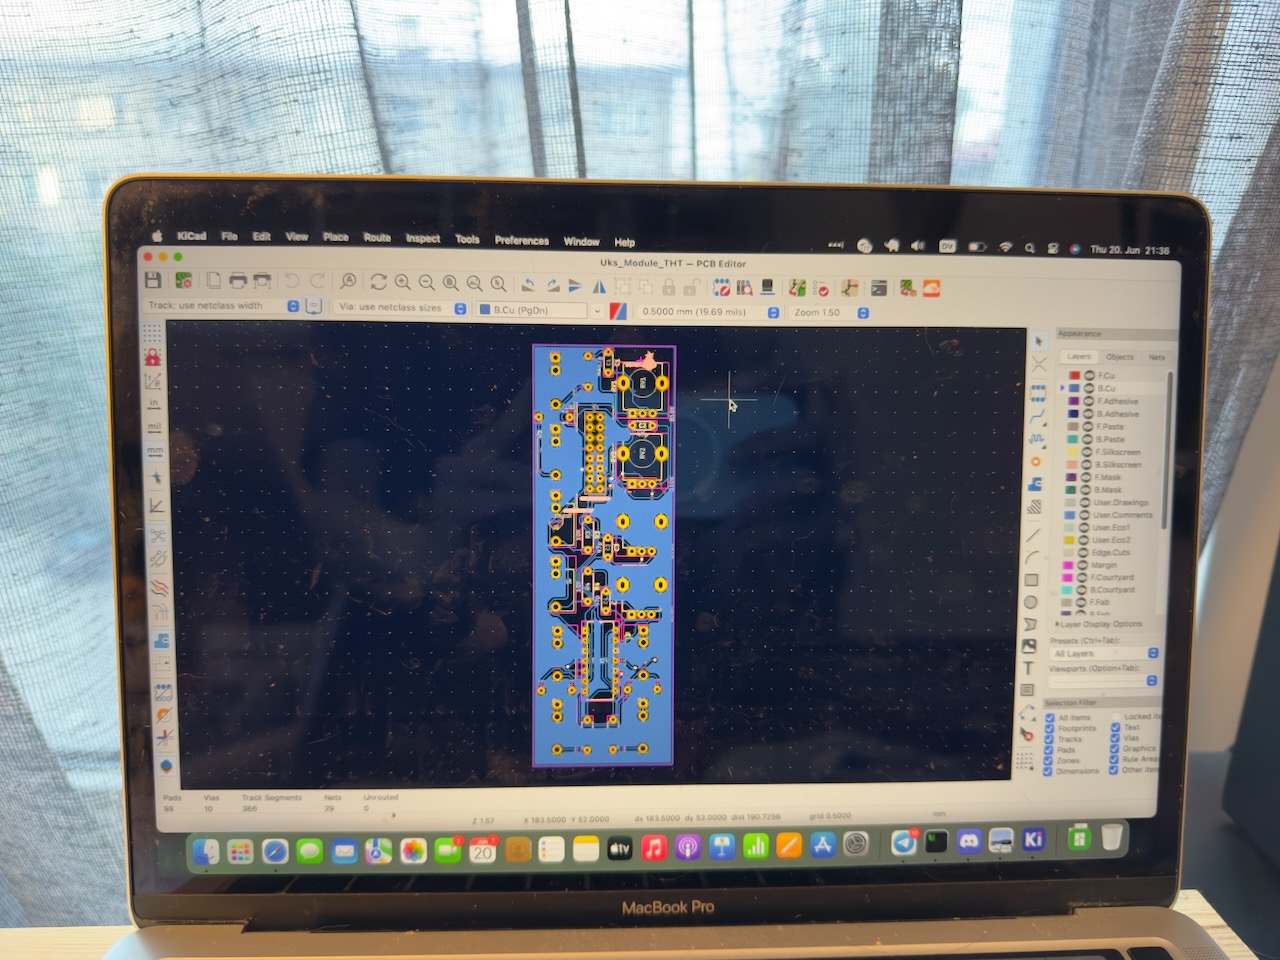
It is not an easy task. I had to learn about electronic components, how they work, and how to connect them to create a circuit. I also had to learn about the PCB manufacturing process, how to choose the right components, and how to solder them to the PCB.
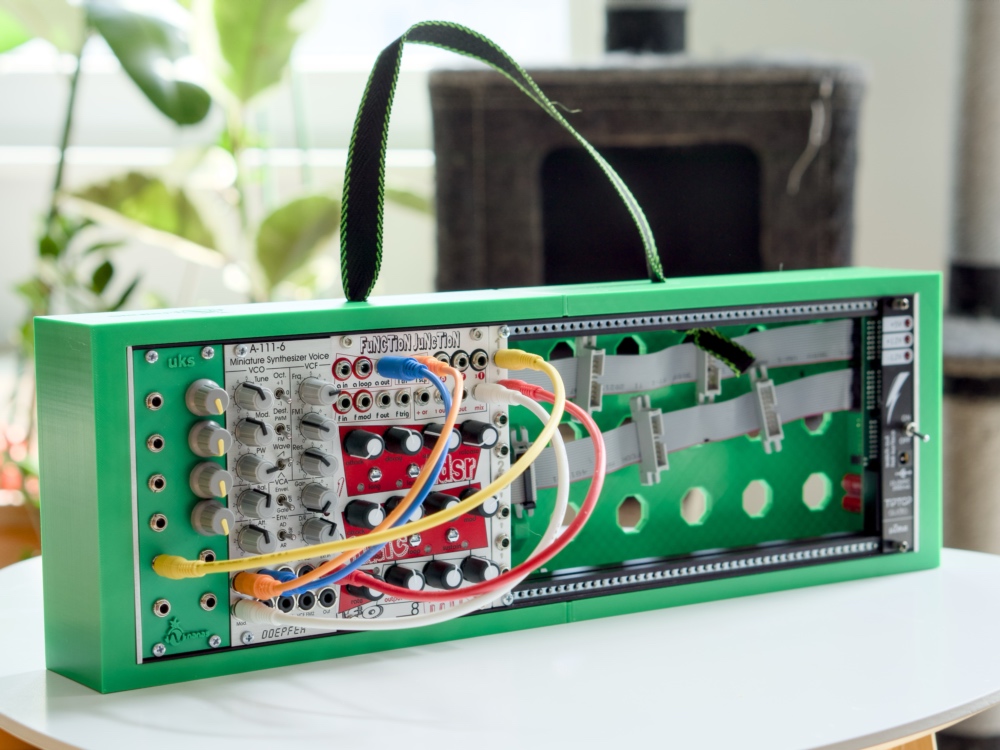
This is how my first module looks like. I manufactured my PCB design in Germany. And, I assembled and soldered the components by myself.
I named it “Uksed”. It’s an Estonian word for “doors”. It’s a 4 channels audio input module. It has 4 audio inputs and 4 audio outputs. It’s a simple module that allows me to bring external audio signals into my modular synthesizer system, and process them with other modules. I can also use it as a distortion effect by overdriving the audio signals.

Designing a eurorack case and panels with CAD software
I also designed and built my eurorack case and its panel. I used Fusion 360, a CAD (Computer Aided Design) software from Autodesk, to design the case. Nowadays, learning this kind of software is easier because there are many tutorials available on the internet. I learned how to create a precision 3D models which possible to manufacture by using 3D printing technique.
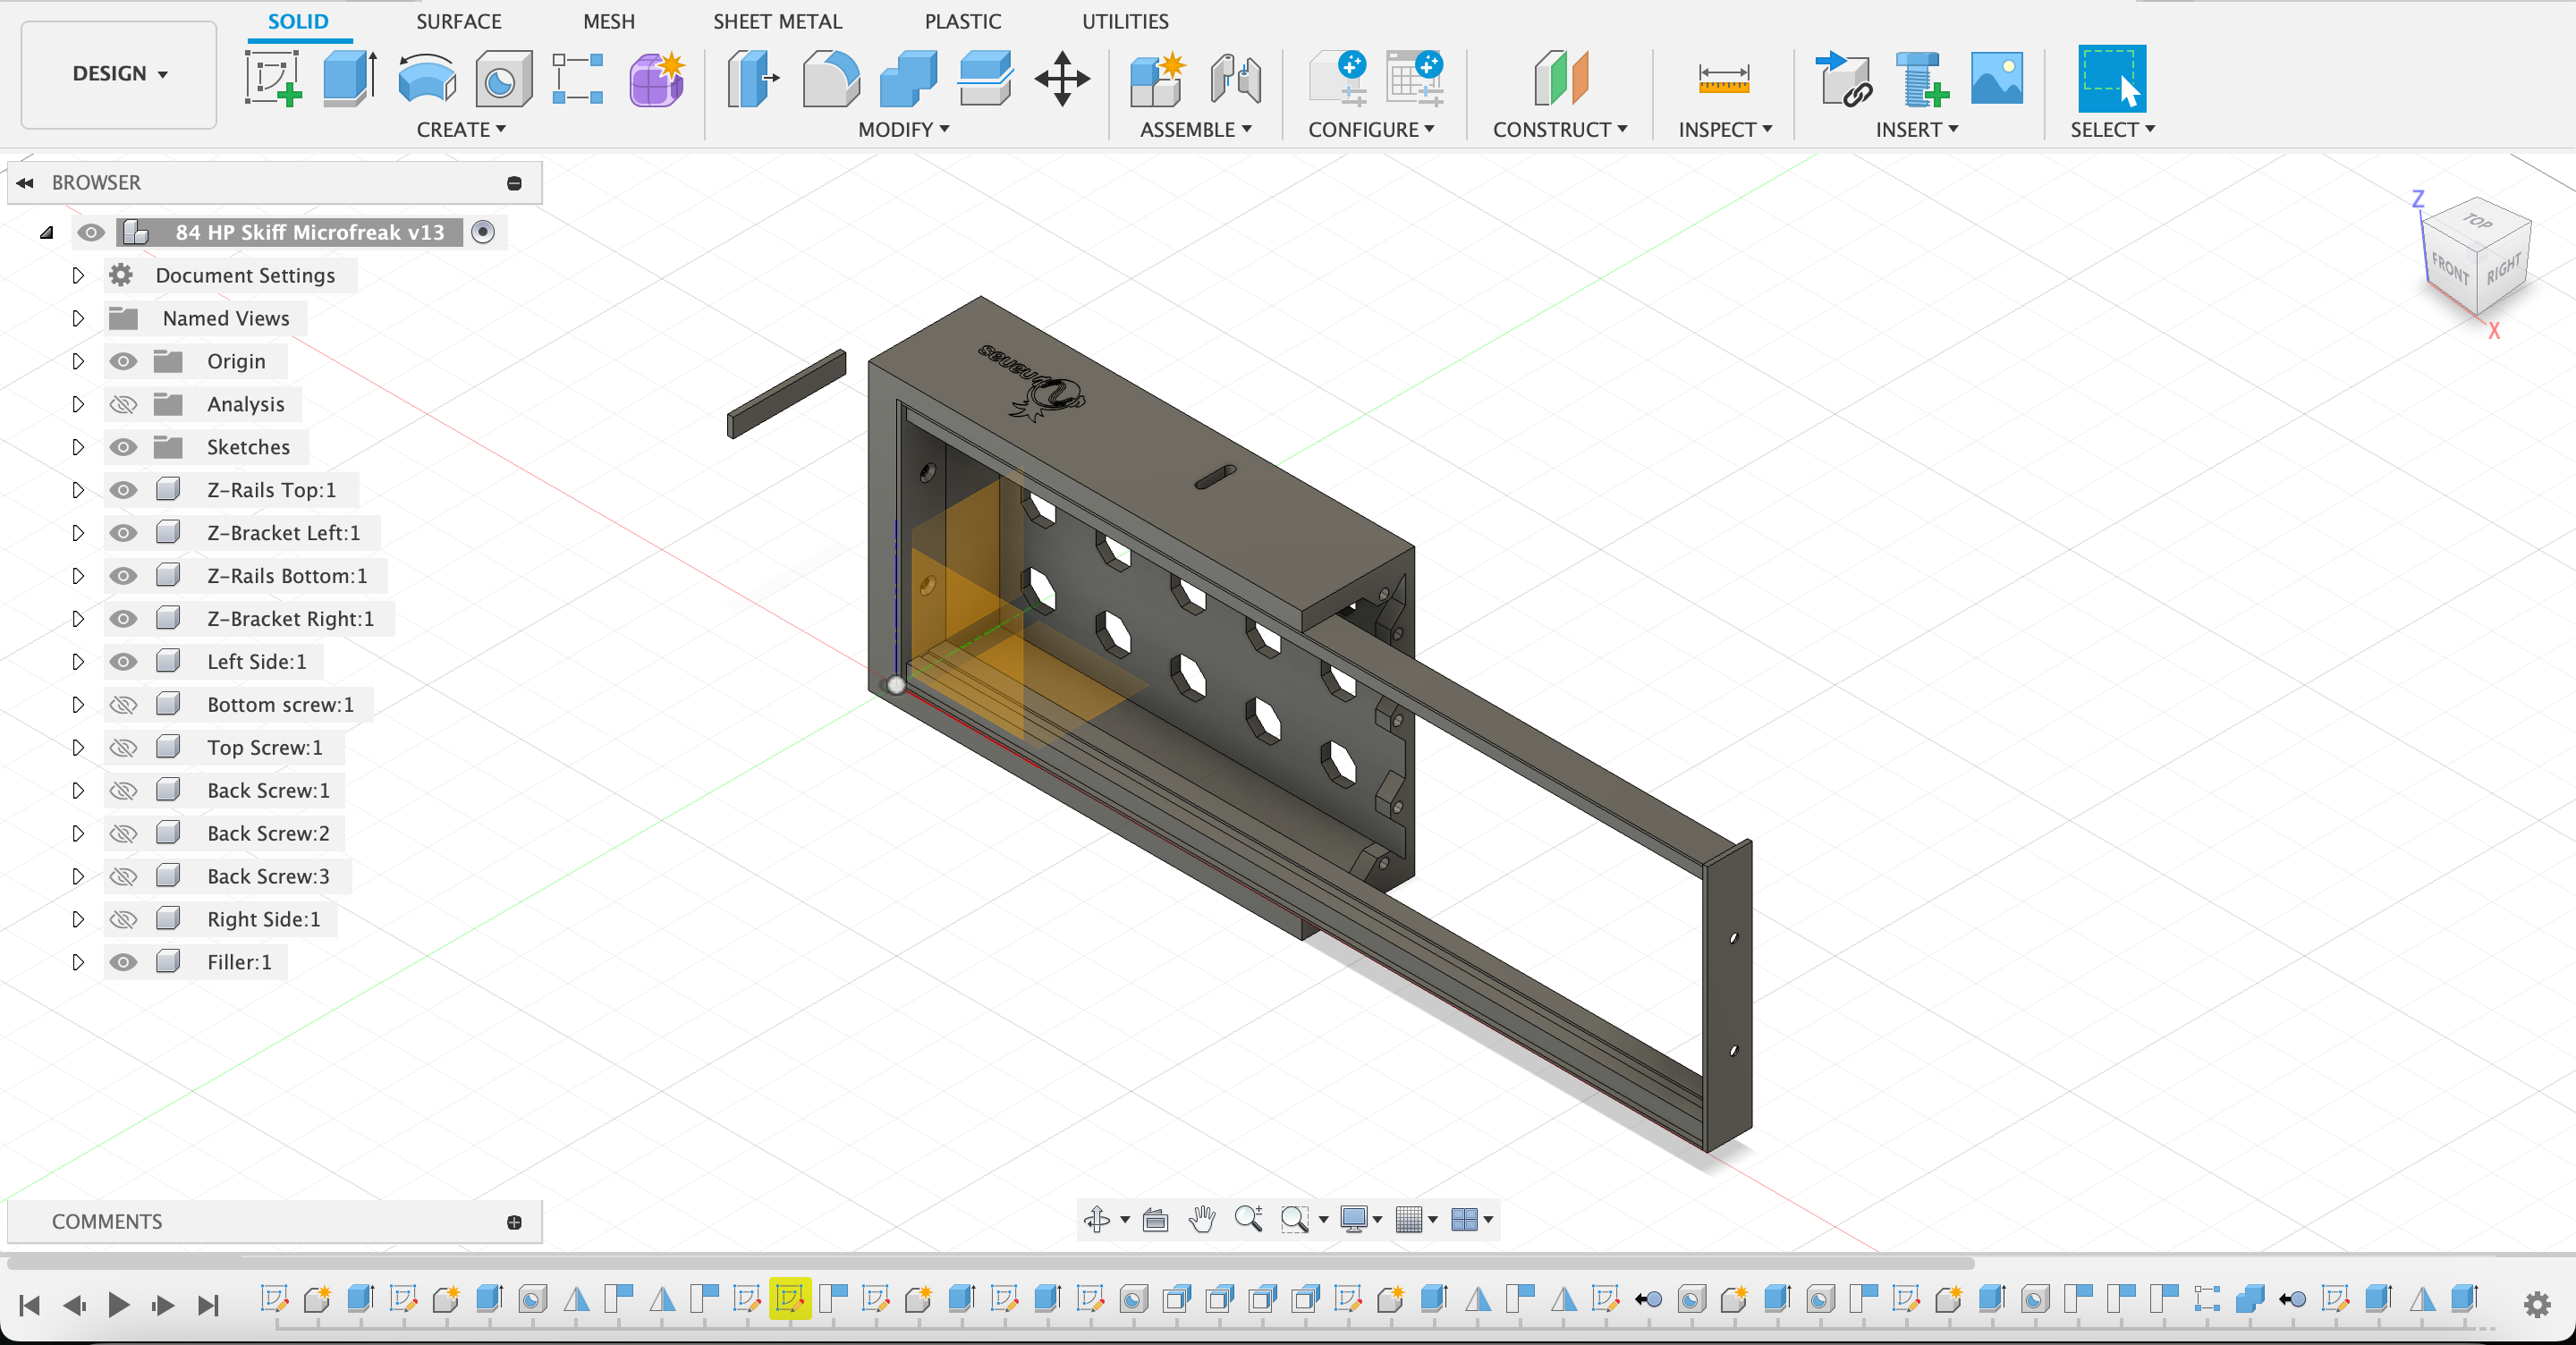
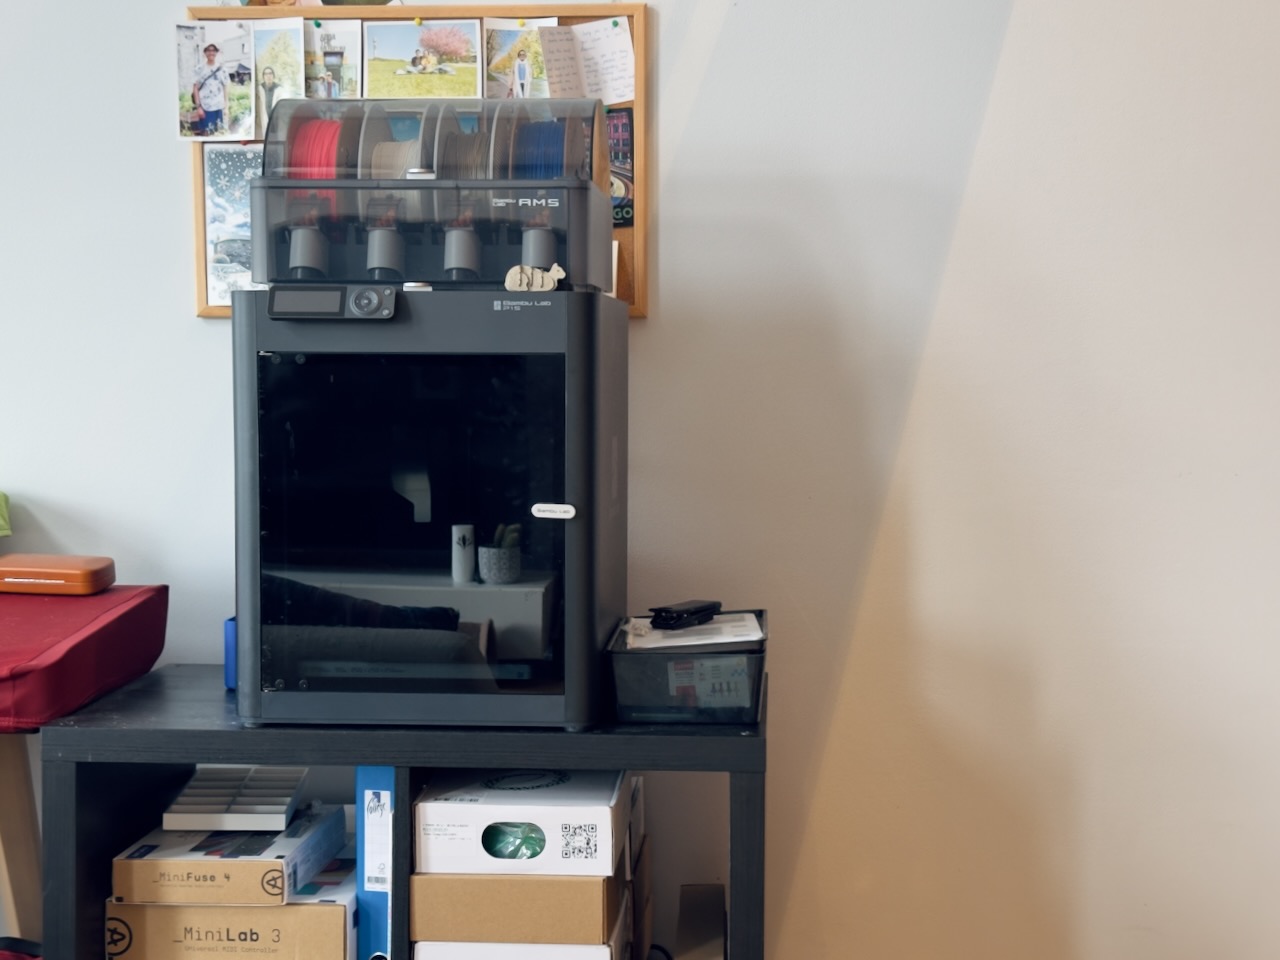
Since I have a 3D printer at home, I printed the case by myself. It’s a 84HP case, which means it can fit 84 horizontal pitch units of eurorack modules. By having my own 3D printer, it makes the iteration process faster. I can design, print, and test the case in a short time. I use Bambulab P1S 3D printer.
I printed the case with ABS plastic material. It’s sturdy and durable.
Summary
Building a modular synthesizer system from scratch is a challenging but rewarding experience. I learned a lot about hardware product engineering, electronic circuits, PCB design, and CAD software. I also learned how to manufacture a product by myself. This journey is not complete yet. I still have many ideas for new modular synth modules on my backlog.
Anyway, I’m selling my 3D design files for the eurorack case on my Cults3D store. If you are interested, you can buy it here. Soon, I will start selling my hardware modules on my website with the brand name: Nanas Sound. Stay tuned!